
(Image Credit: Berschi)
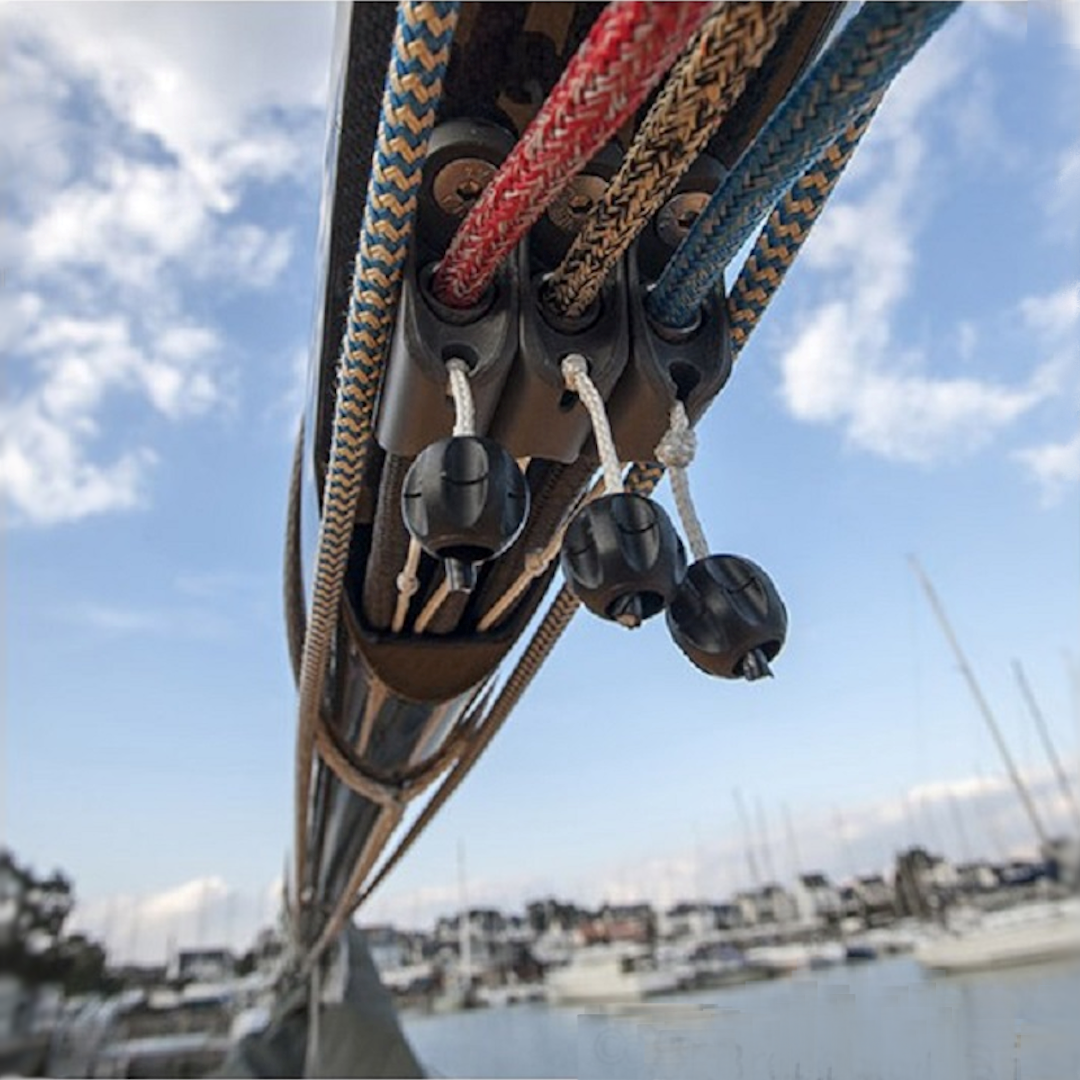
Created as a lightweight alternative to traditional metal clutches, the Cousin Constrictor® is a great bit of kit for reliably holding rope under load with great longevity when properly maintained.
Rope innovators Cousin are at the cutting edge of marine rope and textile technology and have been able to revolutionise the French racing scene with great products such as the Constrictor®.
The manufacturers claim that their Constrictor® is three times lighter than metal alternatives and twice as powerful. Coupled with the fact that the Cousin Constrictor® does not damage the line in any way makes it a great alternative to traditional rope clutches for a variety of boats and yachts.
This blog will help owners of the Constrictor®, and those looking to purchase this versatile textile rope clutch, learn more on how to properly maintain and increase the lifespan of the Constrictor®. With a step by step guide, and video created by Ronstan - who have been working in collaboration with Cousin since 2012, to distribute the product worldwide - you will be able to confidently look after your Constrictor® and change the cover if needed.
Looking after your Cousin Constrictor®
The sleeve is made of a high tenacity black Technora, which is extremely sun and heat resistant, and the casing is made of an anodised aerospace-grade aluminium housing.
All of this makes the Constrictor® a reliable and extremely durable clutch. However, as with any textile product, usage does wear on the sleeve over time, and Ronstan recommend a few tips and tricks to improve the lifespan of your Constrictor®:
- Avoid over-loading where possible. The Constrictor® can hold as much as the rope can, and grip actually increases with load! That said, high load over time will eventually wear the Constrictor® and can lead to damage.
- Regularly wash the Constrictor® with fresh water. Harmful compounds such as sand, sea water, sharp equipment and chemicals can do damage to the Constrictor®. Washing with fresh water will help improve longevity.
- In winter, uninstall the Constrictor® or use a cover when not in use.
- Avoid cleaning the Constrictor® with high pressure cleaners that may introduce abrasive elements in to the fibres.
Even with excellent maintenance, wear and tear may lead you to require a replacement sock, but how do you know when to change?
Here are a few key things to look out for:
- Is there any obvious damage such as cuts or tearing?
- If you can see the rope beneath the sock, it may be time to change your cover.
- Is the cover fraying or fluffing up?
- If the pattern on the cover is no longer consistent or you can see strands that have detached from the main sock, this could be a sign that your cover needs to be replaced.
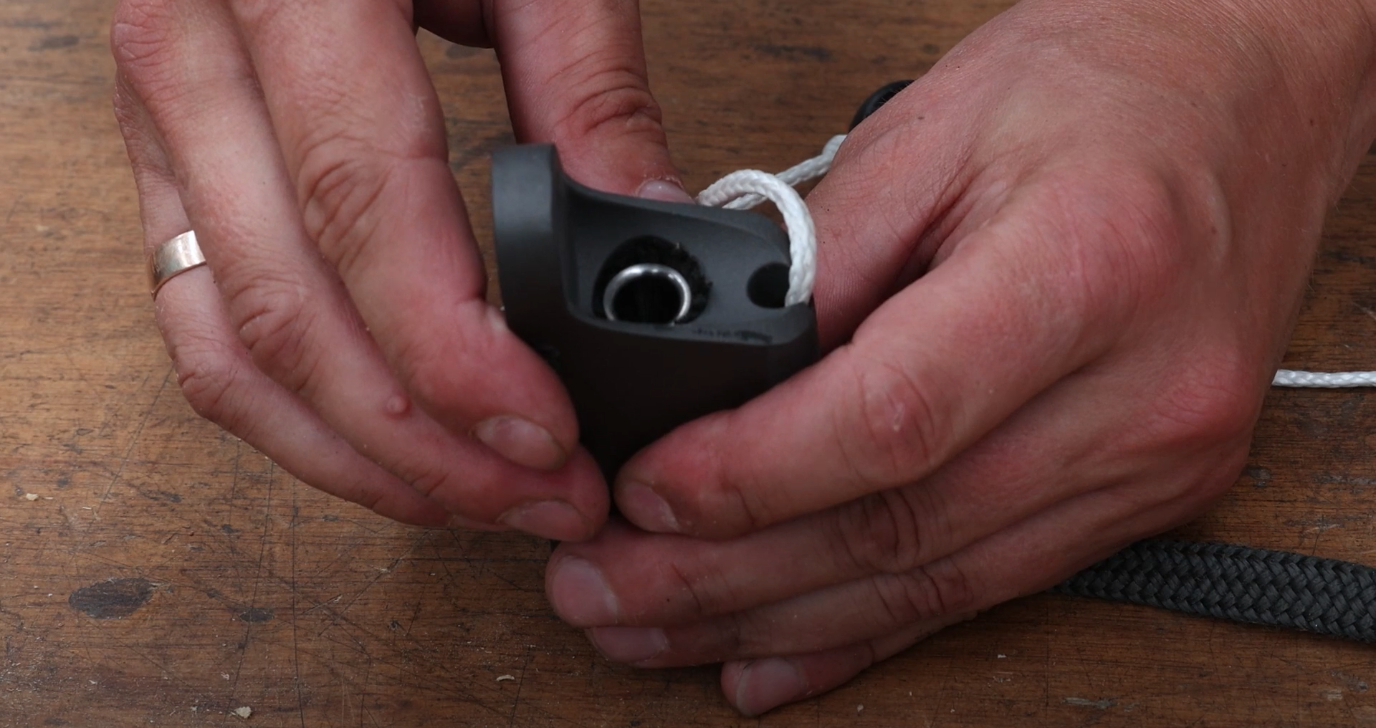
Particular attention should be paid to the junction between the braided sock and the cone fitting. This is where the sock exits the aluminium fitting and the most likely point of significant damage.
If you do see damage to the cover, it’s important to assess the damage and change it if necessary. Below is a step by step guide on how to change the cover.
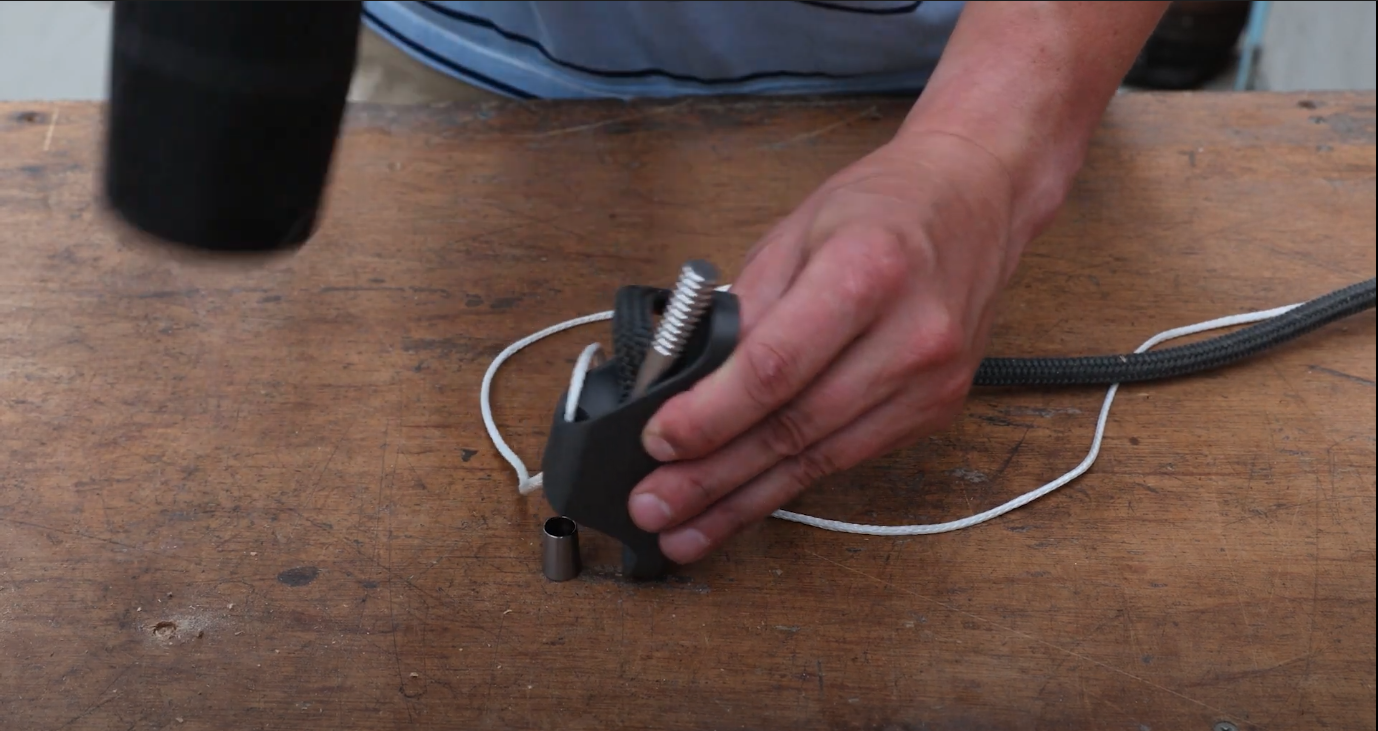
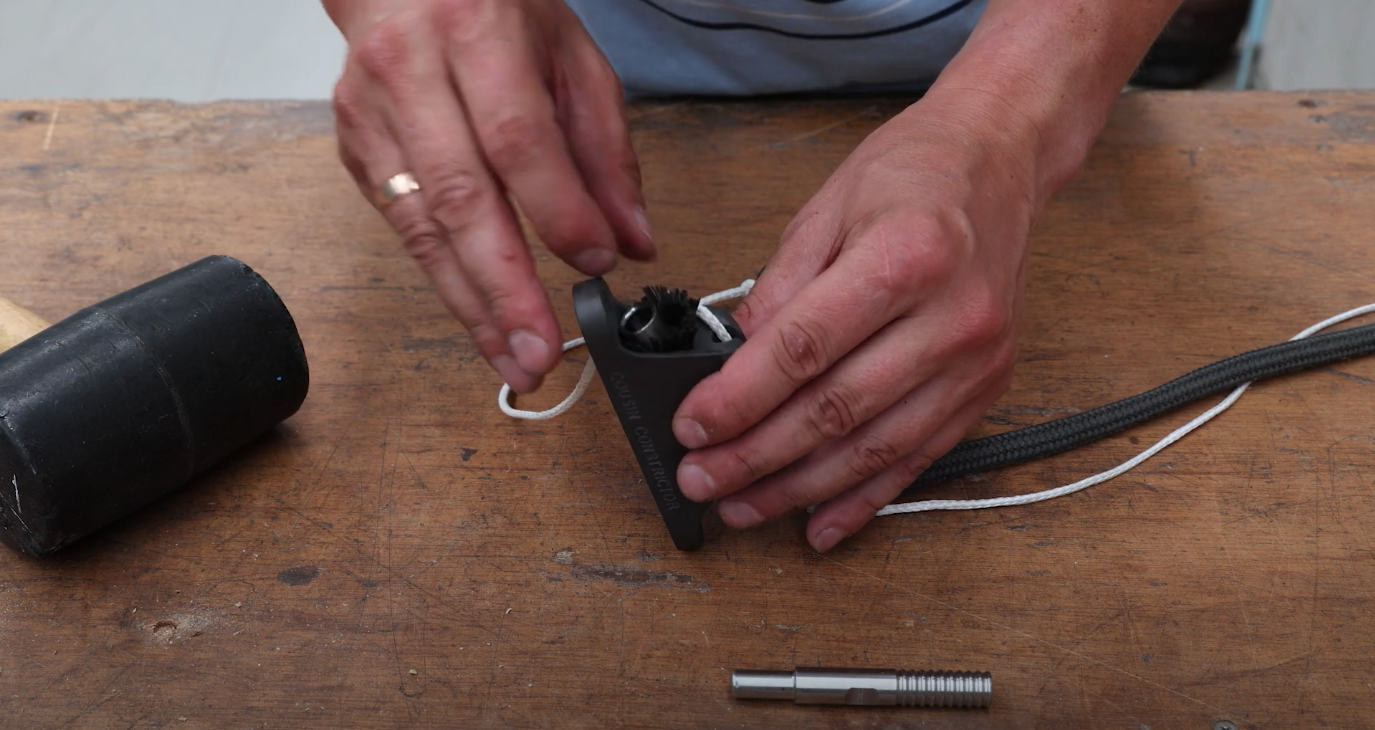
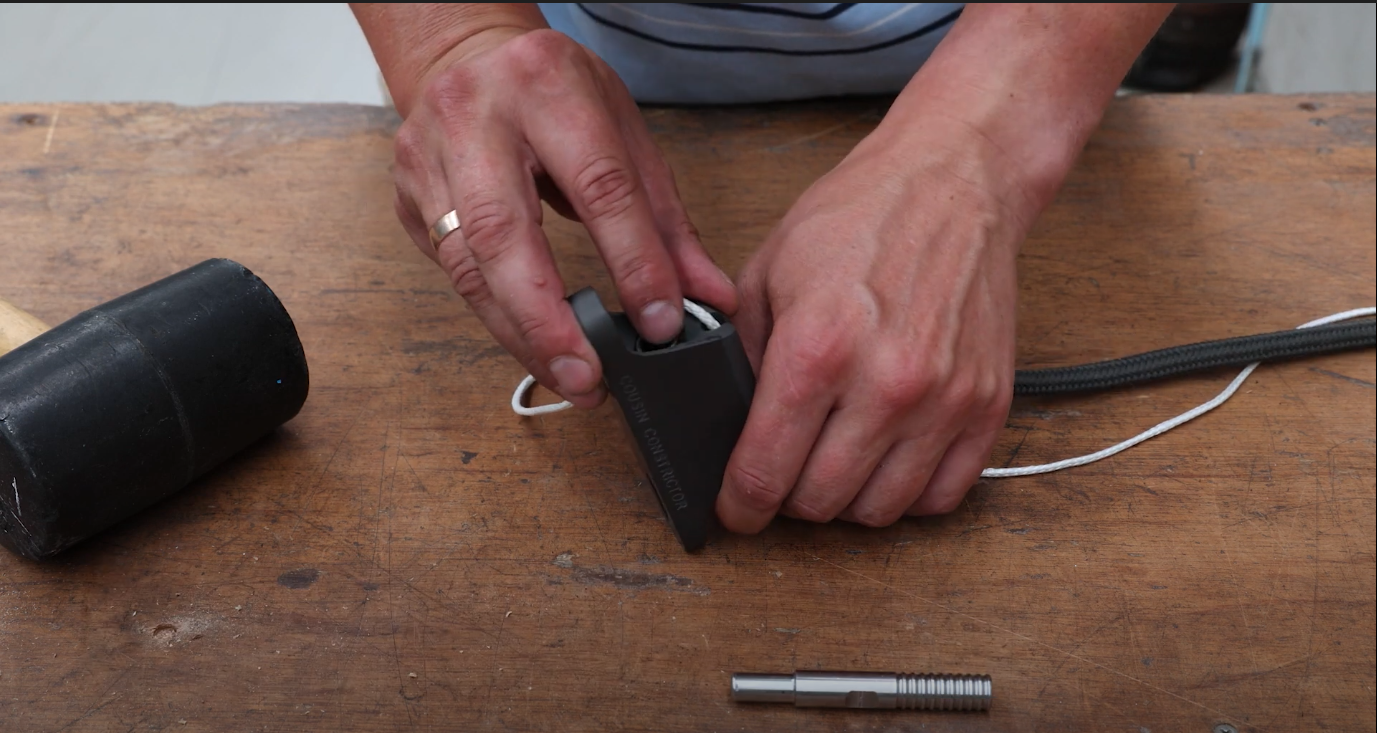
Changing the cover of your Cousin Constrictor®
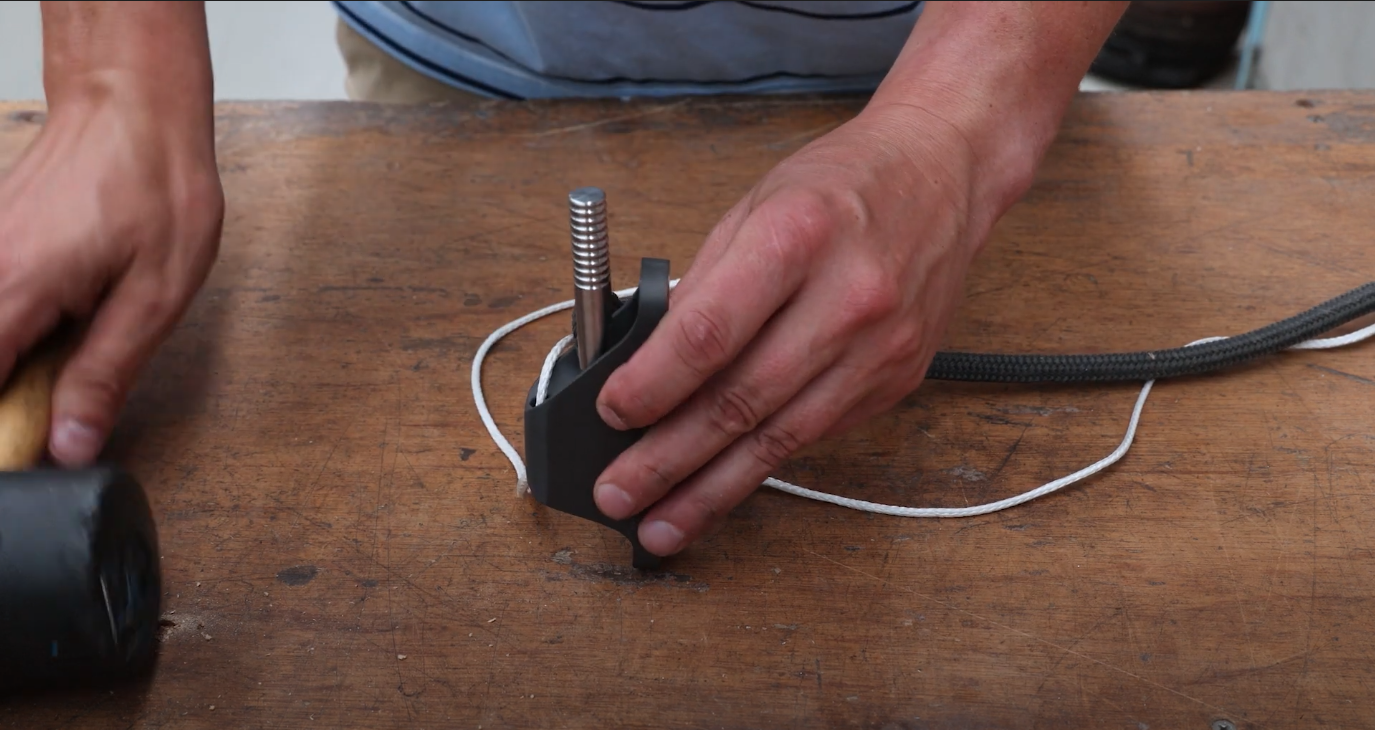
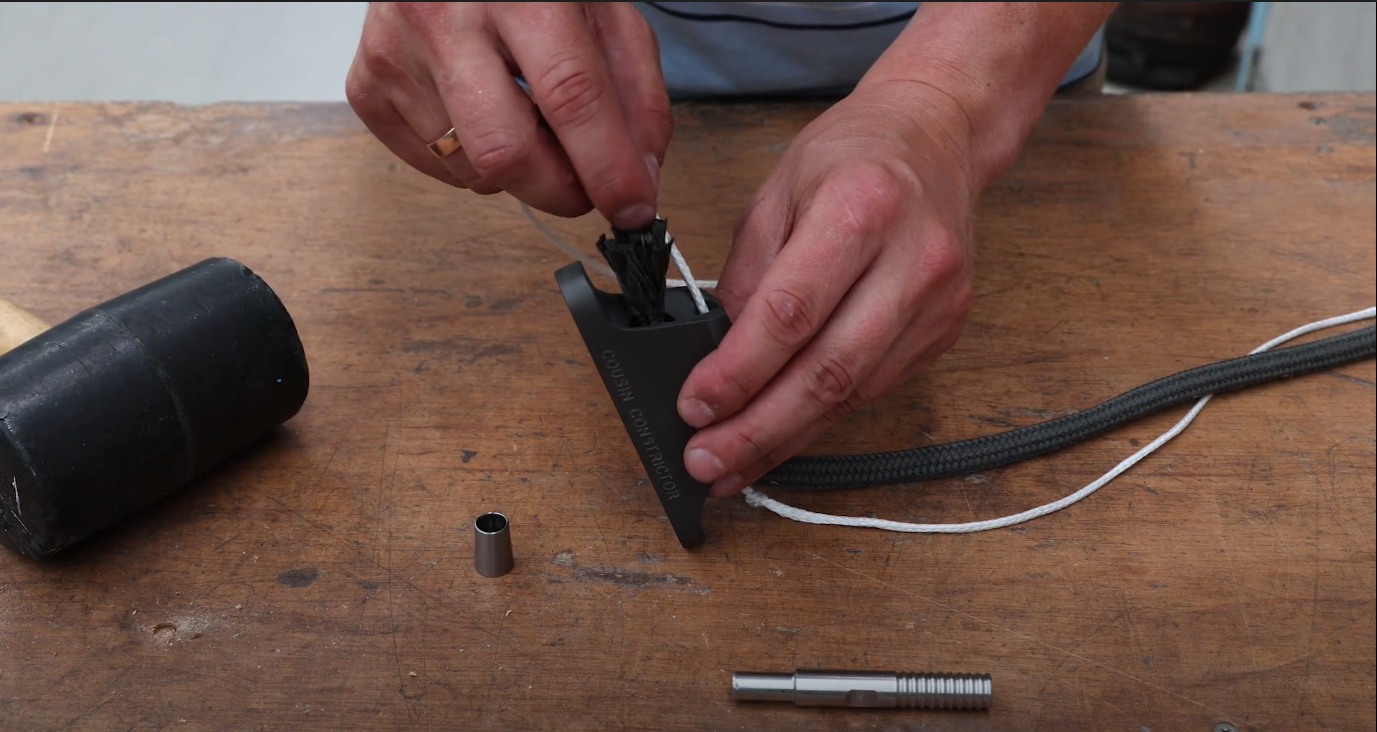
Step 7
Check that the textile sock is secure. The cone should sit evenly in the hole. Pull of the textile clutch to ensure it is secured.
With this guide you should be able to get the most out of your Constrictor®. Don’t forget to regularly check your Constrictor® for cuts and tears, regularly wash it with fresh water and avoid overloading it.
Footnote:
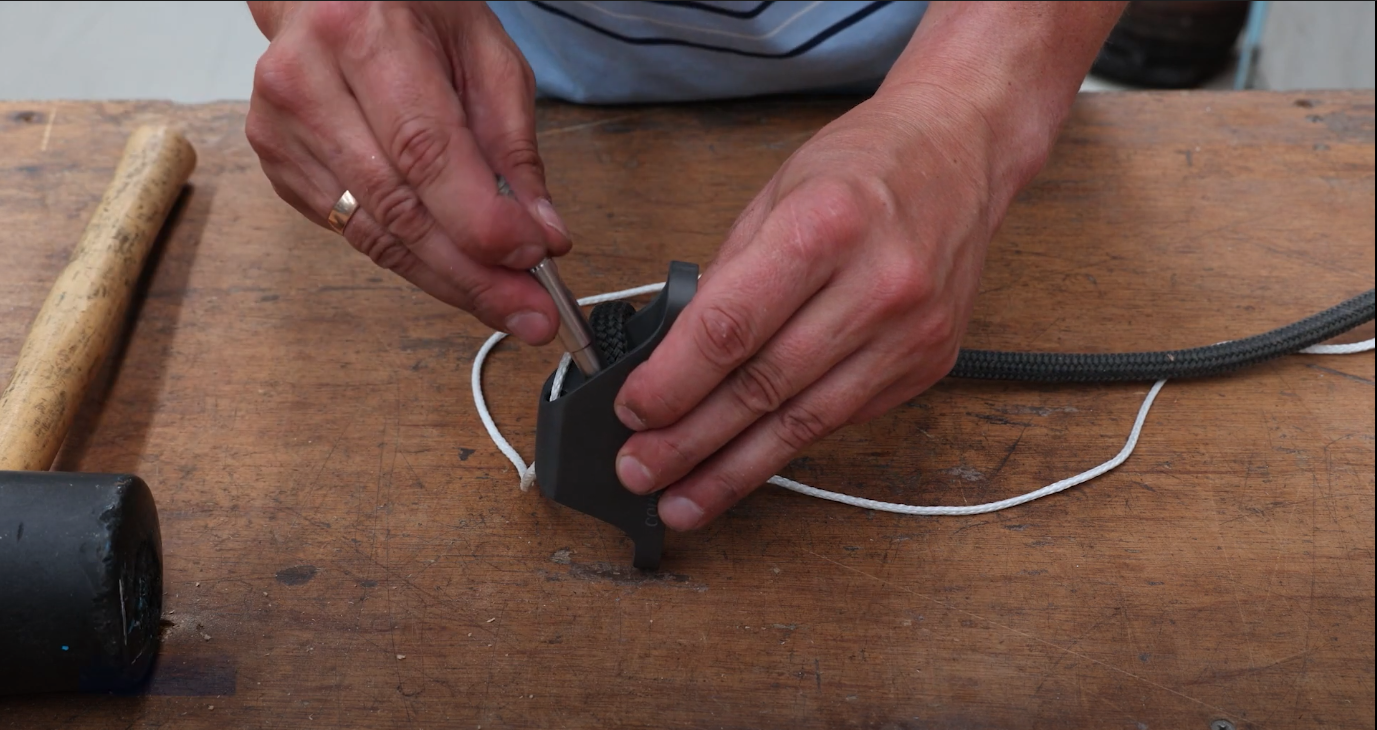
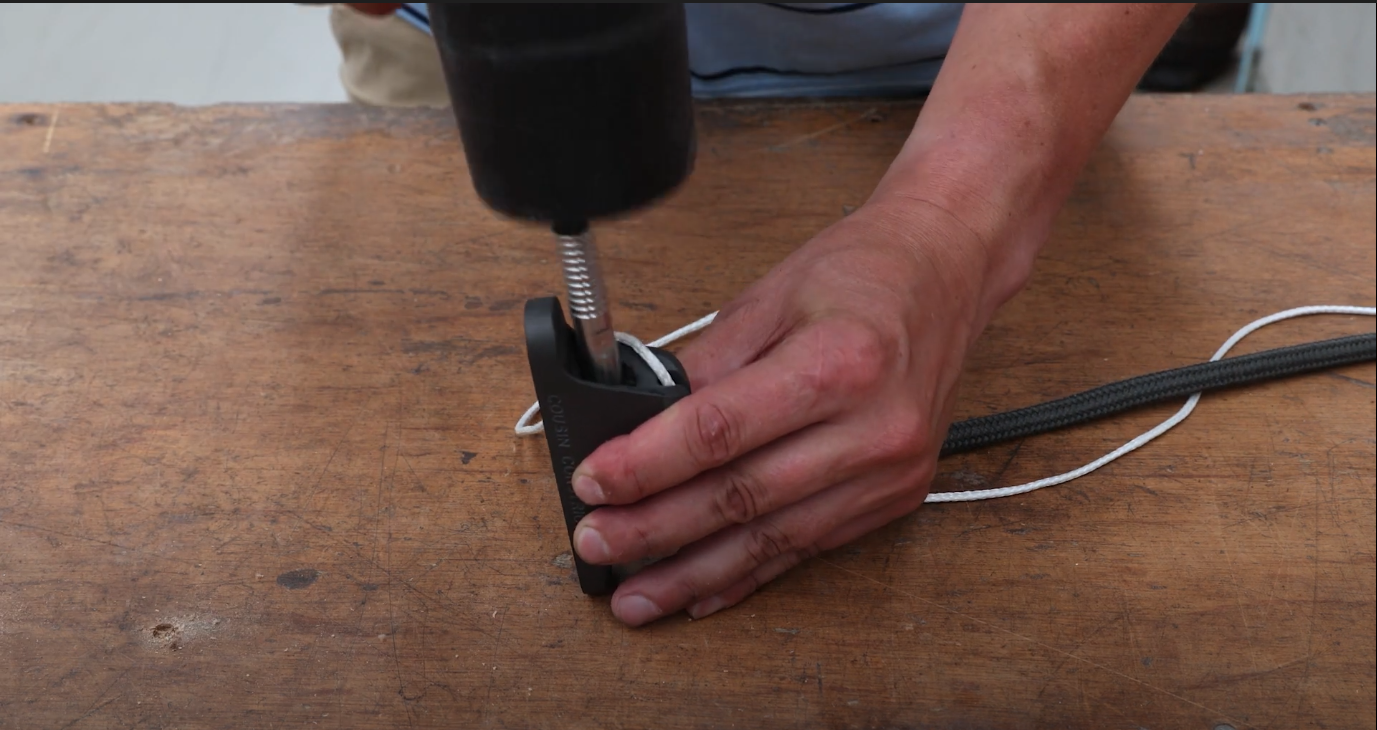
In order to change the cover yourself, you will need a Cousin Constrictor® Service Tool (pictured below), specifically designed for this operation.
These are available to purchase on our website. Click here to see the full range of service tools.
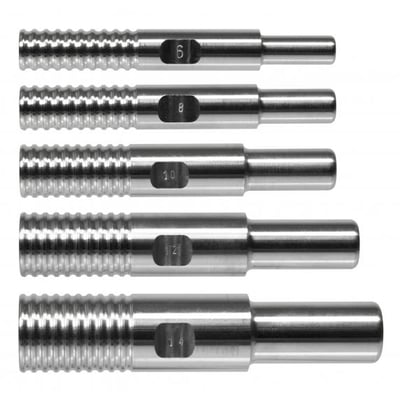
You will need to select the service tool with the same diameter as your Constrictor®.
It's important to stress that this tool is critical because it ensures that the aluminium housing is not damaged and the structural integrity of the clutch is not compromised during the sock replacement process.
If you have any questions about Cousin clutch repair kits, please feel free to email us at support@upffront.com, or click the link below to see our full range:


