
![Andersen Winch 46ST [RA2046010000] With Rope B](https://info.upffront.com/hs-fs/hubfs/Andersen%20Winch%2046ST%20%5BRA2046010000%5D%20With%20Rope%20B.jpg?width=600&name=Andersen%20Winch%2046ST%20%5BRA2046010000%5D%20With%20Rope%20B.jpg)
Type in ‘how to service a winch’ on
Set up a specific work area:
Servicing should be done one at a time. Imagine mixing up two sets of gears into your newly serviced winch!
Accidents happen, but they can be avoided.
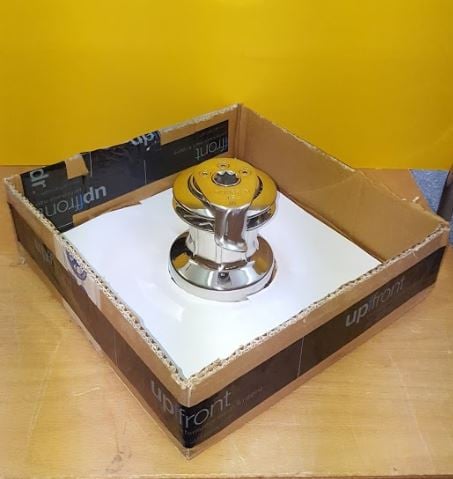
To avoid losing any parts, it is recommended to set up a designated working area. This can be a canvas, or a box
What do you need?
-Screwdriver / or Allen keys (depending on
-Latex Gloves (If you are not a fan of getting your hands dirty!)
-White Spirit (Paint Thinner)
-Hot water, Clean rags
-Bucket/Box or similar area for collecting and cleaning parts
-Flat Brushes (2)
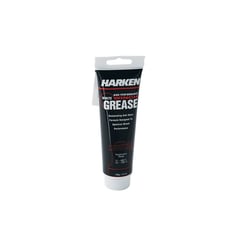
-Winch Grease*
-Pawl Oil*
*Taking shortcuts does not ensure the proper care your equipment deserves! Winch manufacturers tend to have their own brand grease.
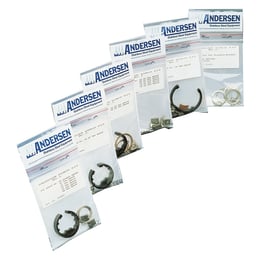
Most manufacturers supply replacement kits to simplify your regular preventative maintenance. The basic kits will contain a complete set of replacement
of replacements
once a year to every four years.
Instructions
1. Start off by removing the drum. Remove the screws on the top surface, or on the self-tailing arm (depending on the winch). Carefully lift the drum; as pieces stuck on the inside can fall out unexpectedly.
2. It is recommended to photograph the winch at each stage of the from most manufacturer’s websites, depending
how old the winch is. This can then help you place it back together. As an alternative, a product manual/guide can be downloaded.
3. Remove all pins, washers and gears. It might be necessary to dismantle the entire winch from its base, depending on its
location on the boat (be patient!).
4. Lay out all the parts to keep track of what has been cleaned. Get rid of ‘old grease’ and then add ‘fresh’ new grease. To do
this, you must first immerse the parts in white spirit. Rinse the parts in hot water and then dry thoroughly with a cloth. Any
remaining white spirit can render new grease ineffective.
5. Lightly brush all parts with a dab of the manufacturer’s grease. Do not grease the pawls and springs; it will make them
stick. Lightly brush the pawls and the springs with the manufacturer’s pawl oil.
6. Remount all pieces in their correct place (making sure you have none left over!) and close (tighten) the drum.
Your fully-serviced winch is now ready for use!
Some extra steps and more specific tools might be needed, depending on the winch. For more guidance,
| Watch this Harken video for more: Craig Blazer- Harken Technical Service |
